
Mailings Tab
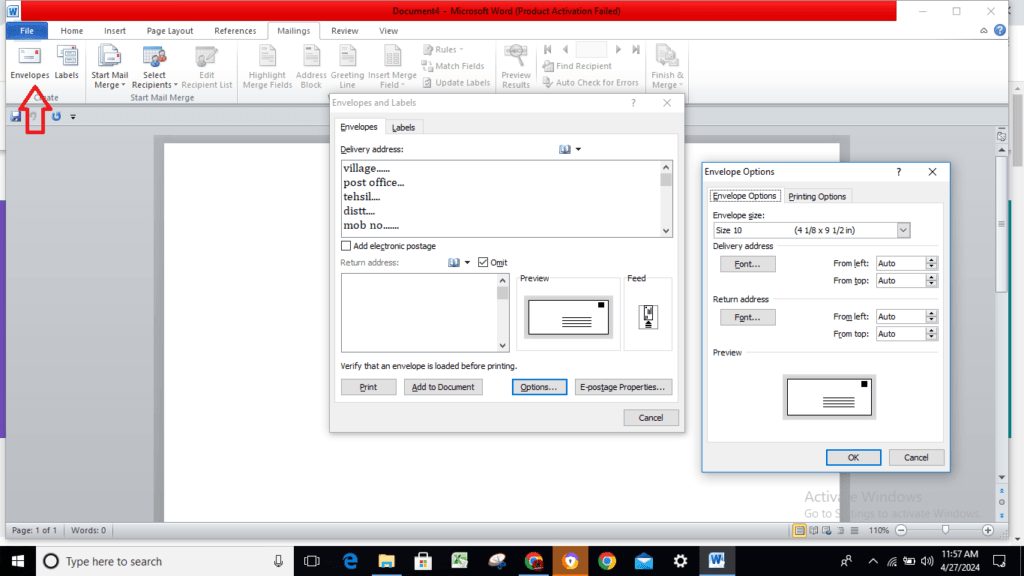
Mailings Tab Presented in a style that is far simpler, this tab includes all of the mailing choices that were available in earlier versions of Word. When it comes to addressing envelopes, To begin, open a new document. To create envelopes, click the envelopes button located in the Create group of the Mailings tab.
Envelopes : It allows you to generate envelopes and print them off.
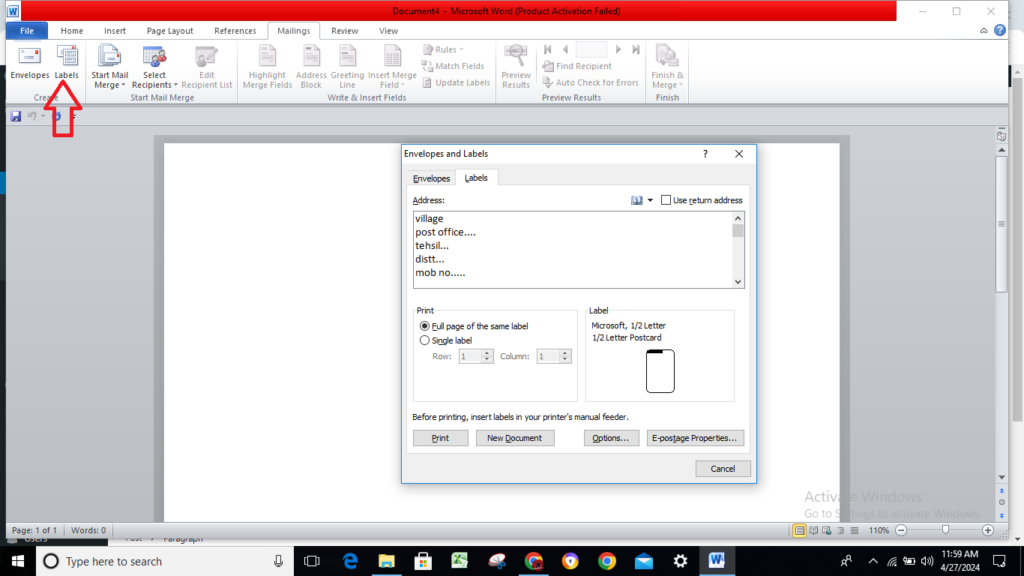
Labels : It allows you to generate labels and print them off.
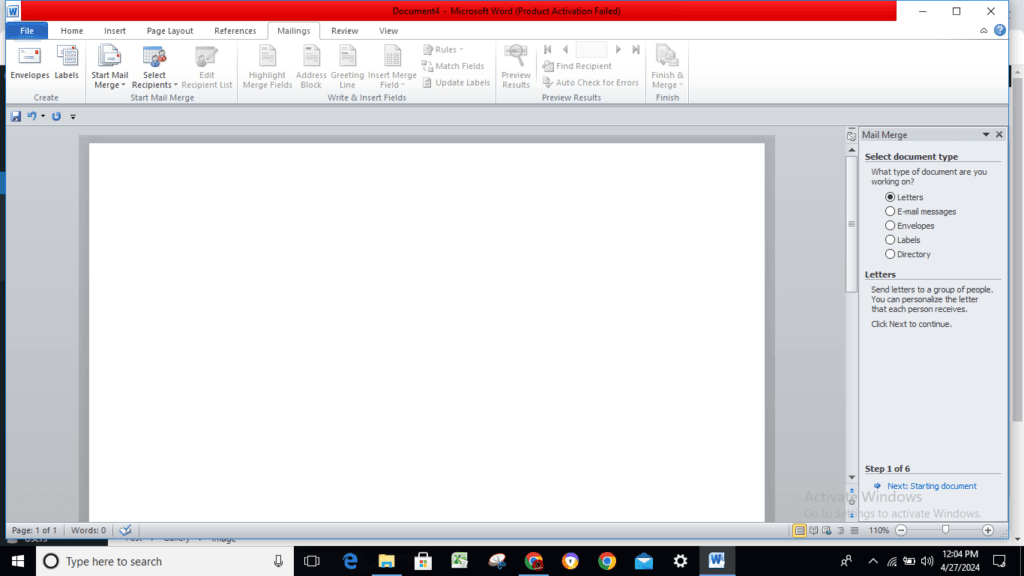
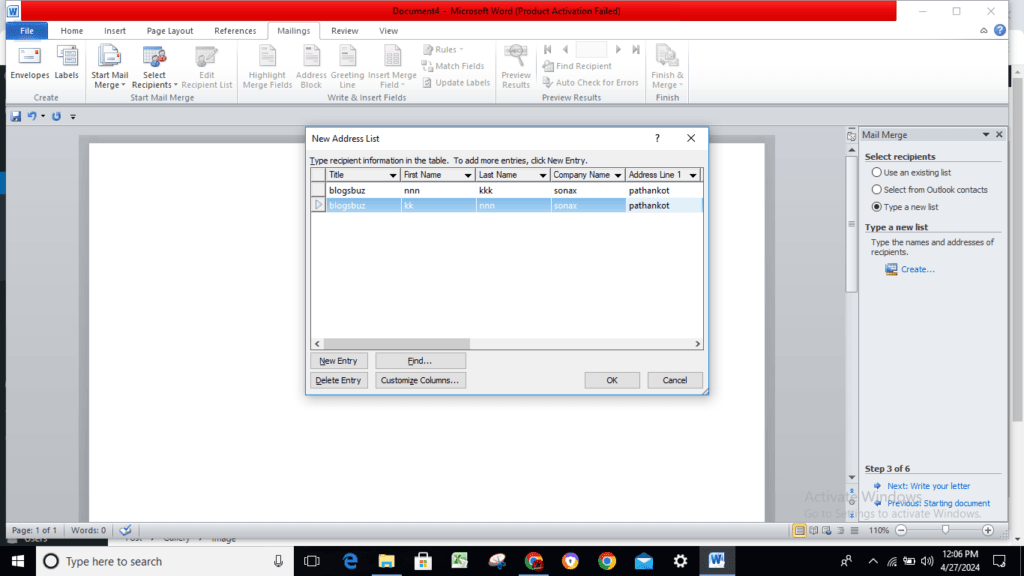
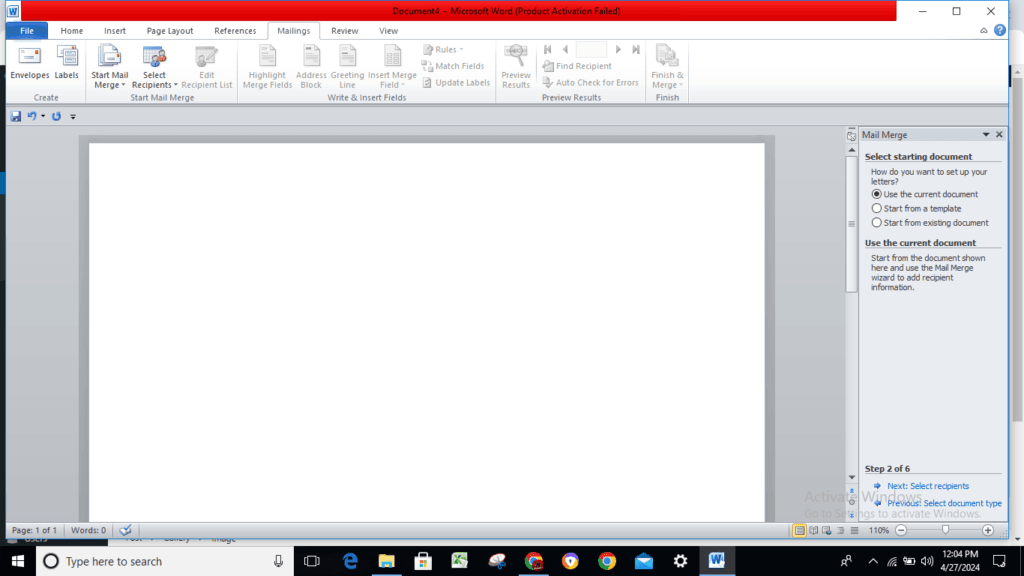
Start Mail Merge : Turning down. The drop-down menu contains the following instructions: Letters, Email Messages, Envelopes, Labels, Directory, Normal Word Document, and Step-by-Step Mail Merge Wizard. This feature allows you to create a letter that you intend to send via email or print multiple copies for different recipients. This is the dialog window that displays the “New Address List.”
Select Recipients: Turning down. Step 3 of the wizard is where you’ll find the three alternatives. The drop-down menu contains each of the following commands: Type New List, Use Existing List, and Select from Outlook Contacts. When you type “Type New List,” the “New Address List” dialog box appears. You must save this list into a Microsoft Office Address List (.mdb) file before using it.
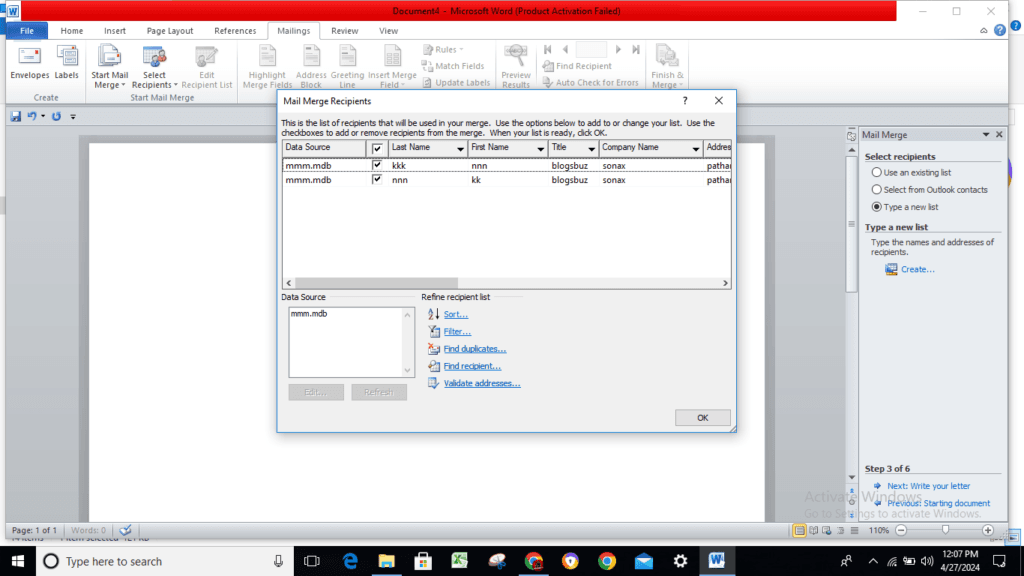
Edit Recipient List : The system displays the “Mail Merge Recipients” dialog box, which gives you the ability to modify or filter the list of recipients.
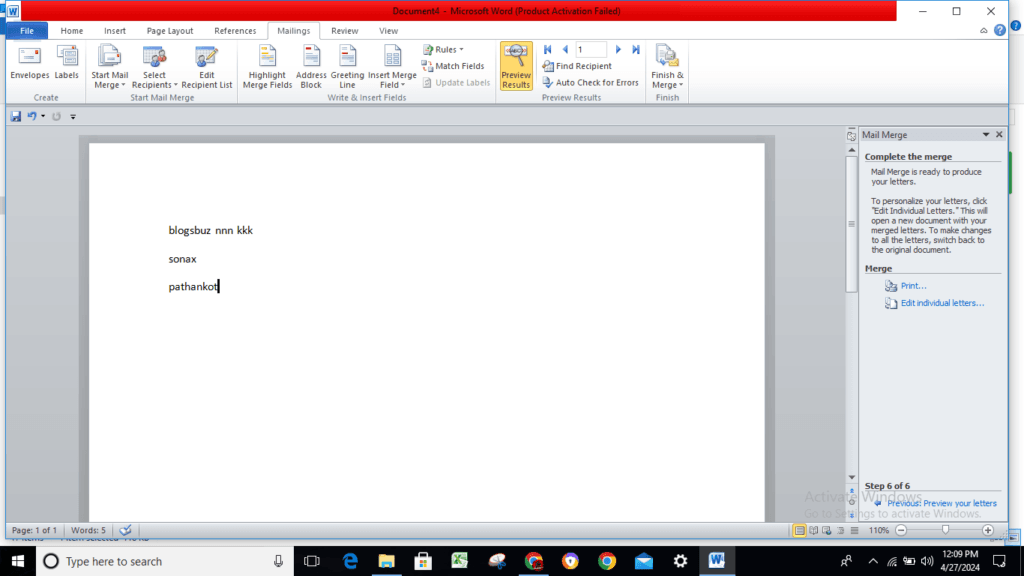

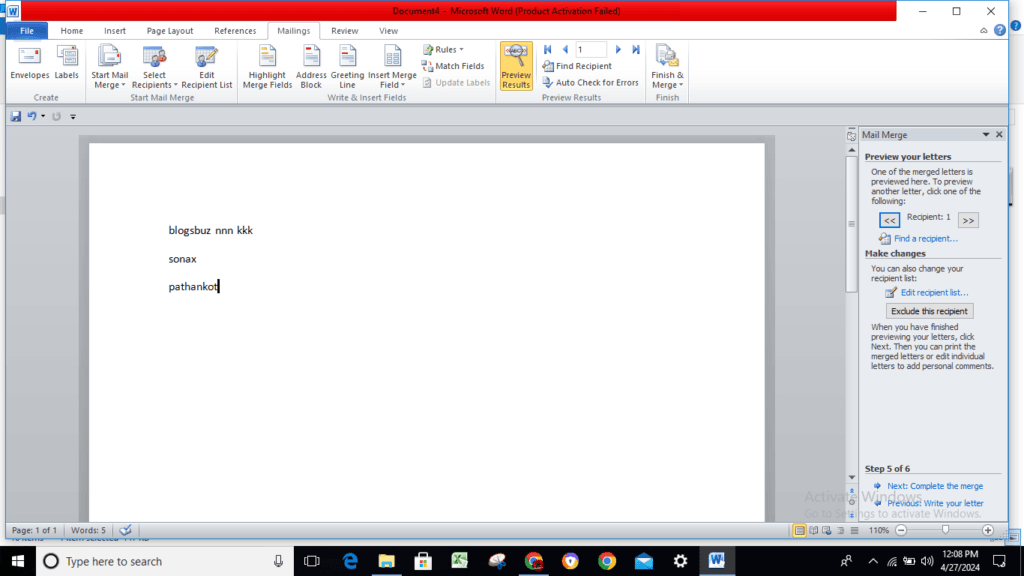
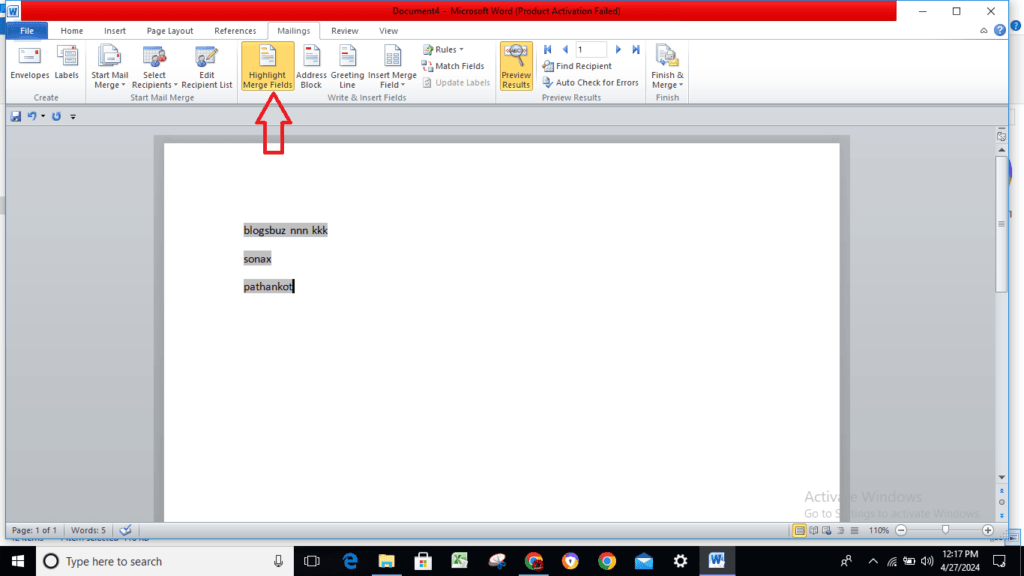
Highlight Merge Fields : Brings to the forefront all of the fields that have been previously added to the current document. This makes it easy to identify the fields that need substitution.
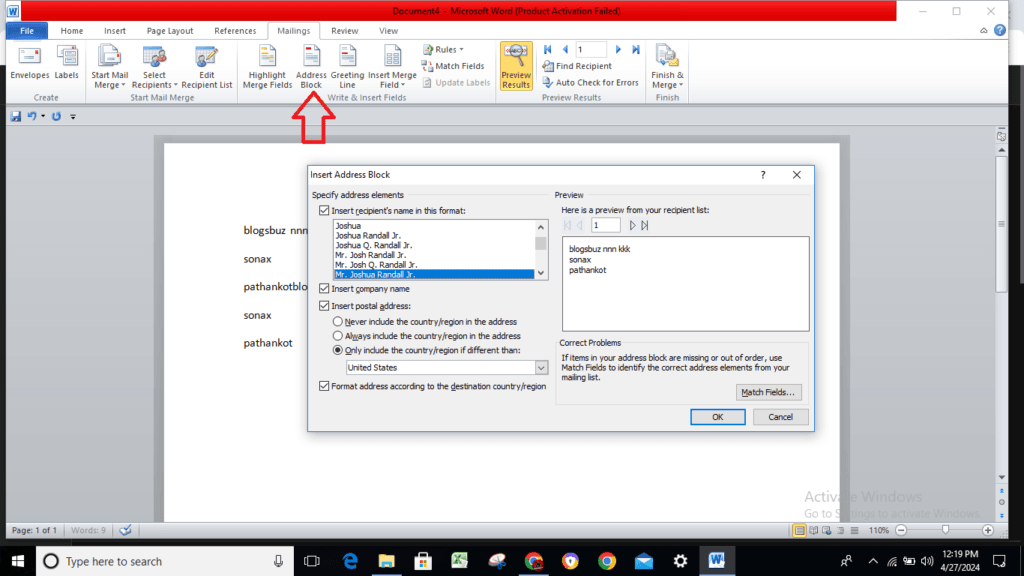
Address Block : This feature displays the “Insert Address Block” dialog box for the user to view. This feature allows the user to customize the address entry method.
Read also: How to Use References Tab Accurate in MS Word? (Lession-9)

Hi, I’m Narinder Kumar, founder of BlogsBuz.com. I create articles and generate celebrity biographies, providing verified, up-to-date content. As an SEO expert and online tools creator, I also share practical tips on making money online, finance management, blogging, and passive income. My mission is to provide accurate information and keep you away from fake content, ensuring you stay well-informed and make smart decisions online.