
Use Mailings Tab
Use Mailings Tab Presented in a style that is far simpler, this tab includes all of the mailing choices that were available in earlier versions of Word. When it comes to addressing envelopes, To begin, open a new document. To create envelopes, click the envelopes button located in the Create group of the Mailings tab.
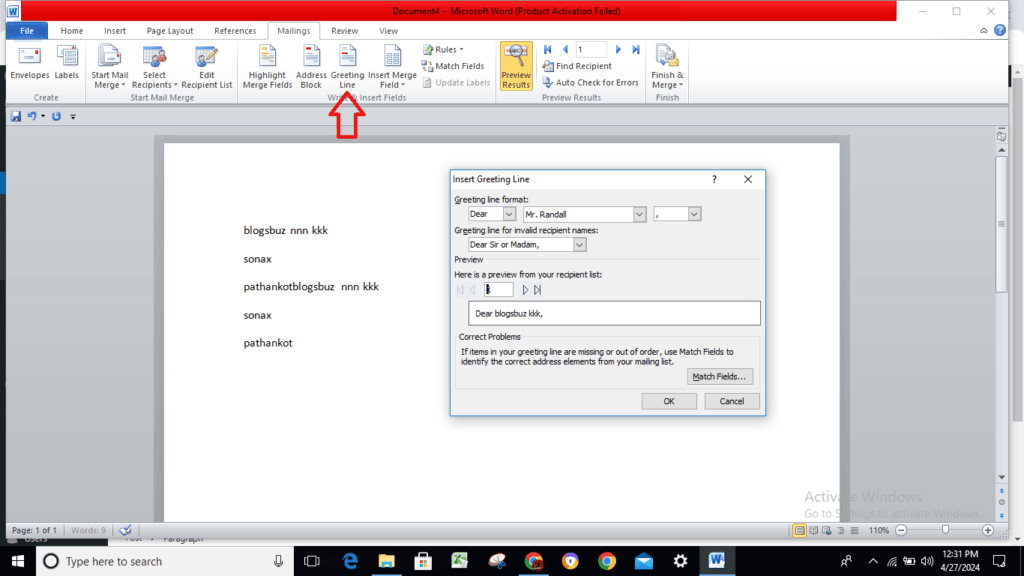
Greeting Line : Provides the “Insert Greeting Line” dialog box for the user to see. It allows you to include a greeting line in the document you are working on.
Insert Merge Field : Button that has a drop-down menu. Pressing the button displays the “Insert Merge Field” dialog box. The drop-down menu includes the following commands: Title, First_Name, Last_Name, Company_Name, Address_Line_a, Address_Line_2, City, State, Zip_Code, Country_or_Region, Home_Phone, Work_Phone, and Email_Address. The drop-down menu enables you to rapidly introduce a merging field by just clicking on it in the list.
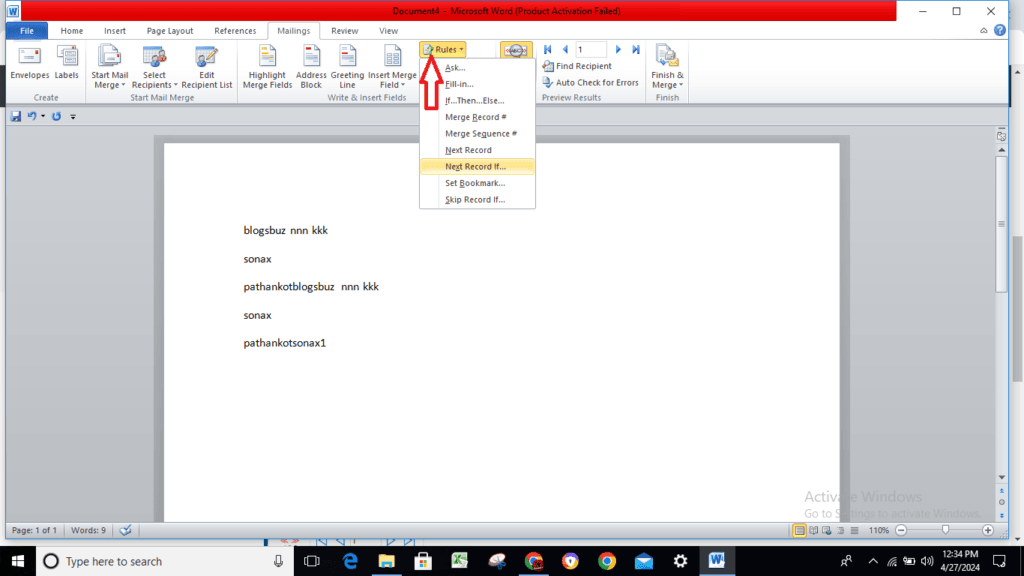
Rules : Turning down. This feature enables you to incorporate decision-making rules into the mail merging process. The drop-down menu incorporates the following commands: The drop-down menu includes the following commands: Ask, Fill-in, If-Then-Else, Record of Merge, Sequence of Merge, Next Record, Next Record If, and Merge Record Bookmark, with the option to skip recording if set.
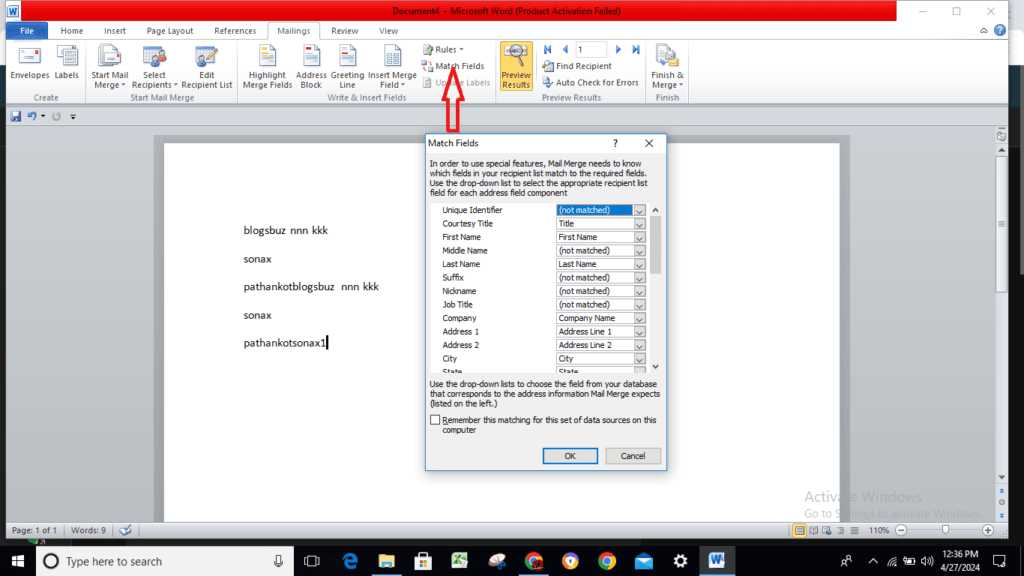
Match Fields: The “Match Fields” dialog box appears, providing you with the opportunity to match the required fields with the recipients list.
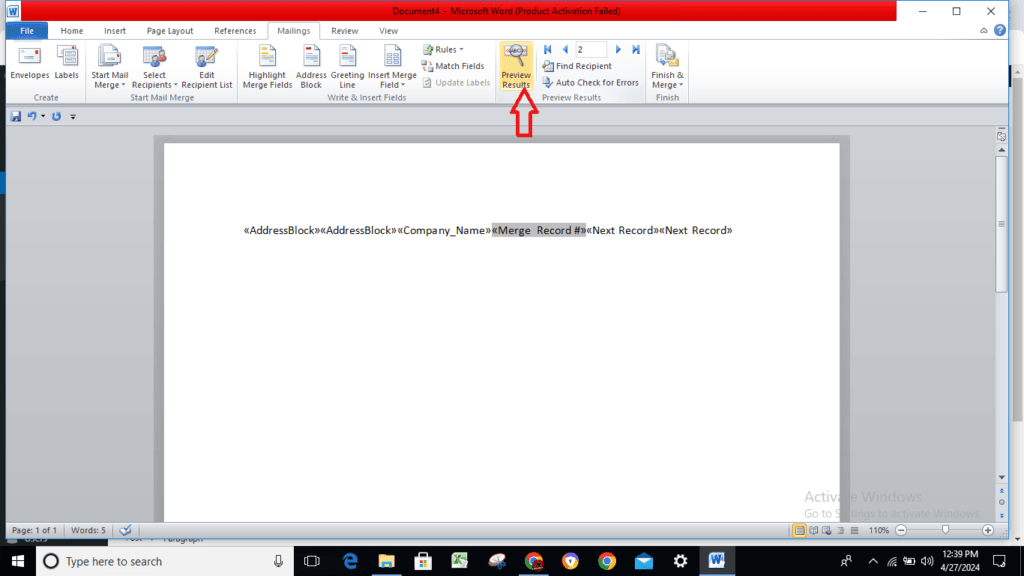
Preview Results : If your document contains no fields, we will deactivate this feature. This switches the merged fields in your document to the real data that is collected from your recipient list.
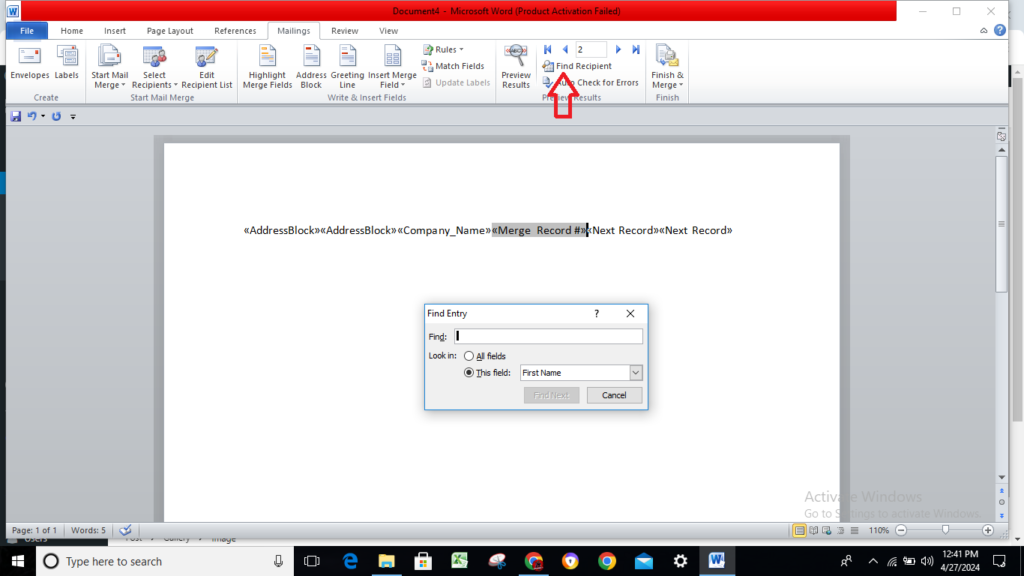
Find Recipient : This function brings up the “Find Entry” dialog box, which allows you to search for a specific text entry.
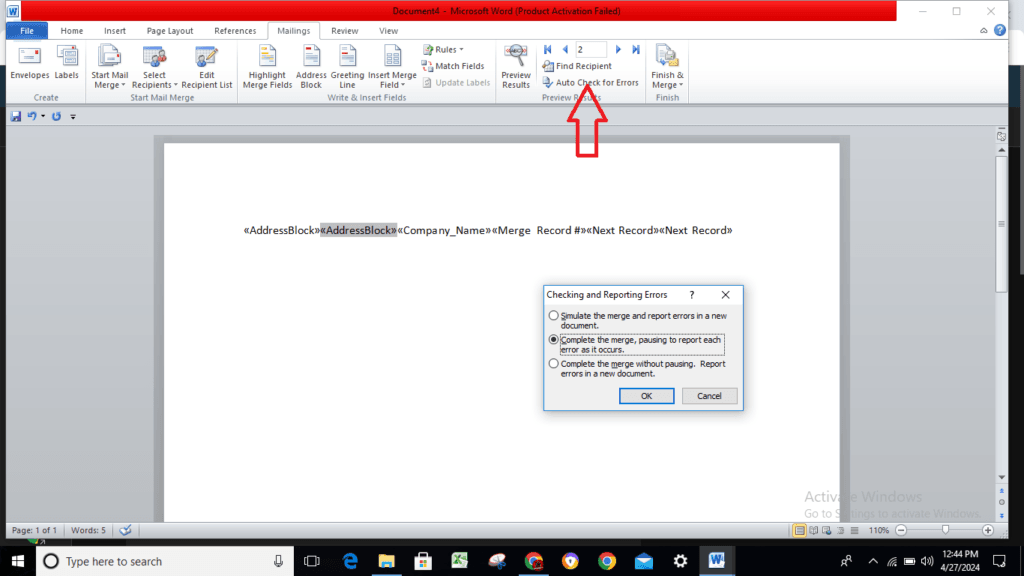
Check for Errors : (Press the Alt key, Shift key, and K key.) This action displays the “Checking and Reporting Errors” dialog box. As a result, you will be able to simulate the mail merging process and describe how to deal with any mistakes that may arise throughout the process. When you create a new document, you can even simulate the merging and indicate any mistakes that occur.
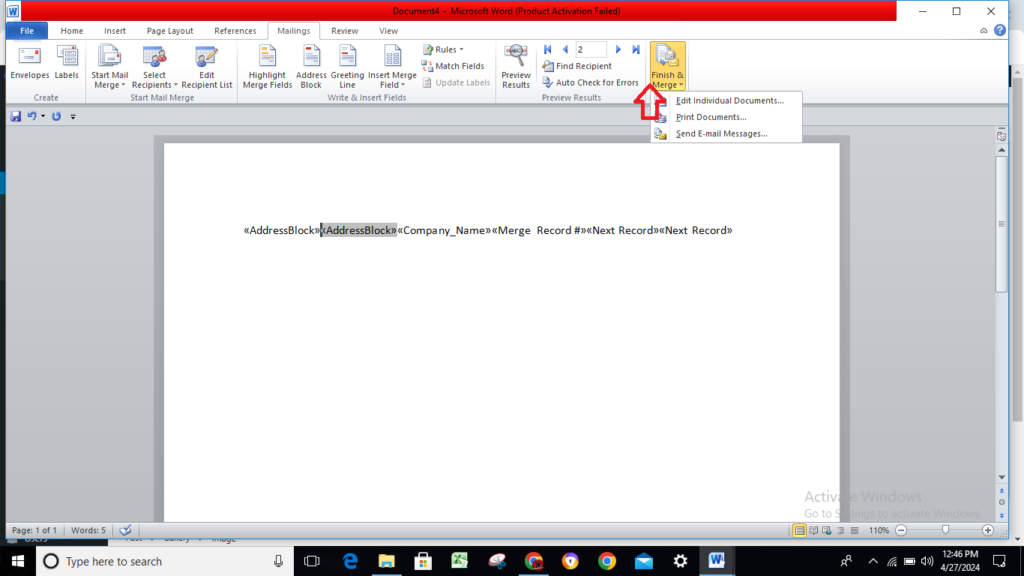
Finish & Merge : Turning down. The drop-down menu includes commands for editing individual documents, printing documents, and sending e-mail messages.
Read also : How to Use Mailings Tab in Accurate in MS Word? (Lession- 10)

Hi, I’m Narinder Kumar, founder of BlogsBuz.com. I create articles and generate celebrity biographies, providing verified, up-to-date content. As an SEO expert and online tools creator, I also share practical tips on making money online, finance management, blogging, and passive income. My mission is to provide accurate information and keep you away from fake content, ensuring you stay well-informed and make smart decisions online.